In-Depth Review of LangGraph: The Agentic State Machine
How LangGraph’s graph-based framework lets Uber, LinkedIn and Replit run production-grade agents—with interrupts, MCP, and one-click cloud deploys.
At the inaugural LangChain Interrupt conference this year, the spotlight wasn’t on LangChain itself; it was on LangGraph. The event focused heavily on AI agents and showcased how major companies, such as Uber, LinkedIn, and Replit, are deploying them in production.
A recurring theme across talks was how these organizations are using LangGraph to build robust, production-grade agentic systems.
With so many insights shared about LangGraph during the conference, now is the perfect time to take a closer look at what LangGraph is, how it works, and the design philosophy behind it.
LangGraph was introduced in early 2024 as a separate library built on top of LangChain. While LangChain helped developers build simple, linear agentic workflows, it fell short when it came to more complex agentic workflows, especially those involving loops or cycles, which are common in real-world agent interactions.
To address this limitation, the LangChain team created LangGraph: a framework that introduces graph-based agentic workflows for more flexible and powerful agent design.
In this article, we’ll dive deep into LangGraph and explore how it brings core computer science concepts like state machines to life in the world of AI agents. Specifically, we’ll cover:
How LangGraph models agentic workflows as graphs
How to build these workflows using LangGraph’s API
How to use its high-level abstractions to simplify development
Real-world examples of how companies are using LangGraph in production
Let’s get started. 🚀
Understanding State Machines
Before we had modern computers, we had state machines, more specifically, Finite State Machines (FSMs). These were simple models of computation that operated using a finite set of states. Each state could transition to another based on specific inputs or actions.
Let’s take a real-world example: a subway turnstile.
Imagine walking into a subway station and approaching a turnstile that only unlocks when you insert a coin. This system has two states:
Locked
Unlocked
Here’s how it works:
If you try to push the turnstile without inserting a coin, it stays locked.
If you insert a coin, the turnstile transitions to the Unlocked state.
Once you push through, it automatically returns to the Locked state.
These movements between states, triggered by actions like inserting a coin or pushing the turnstile, are called state transitions. The turnstile system as a whole is a simple example of a state machine.
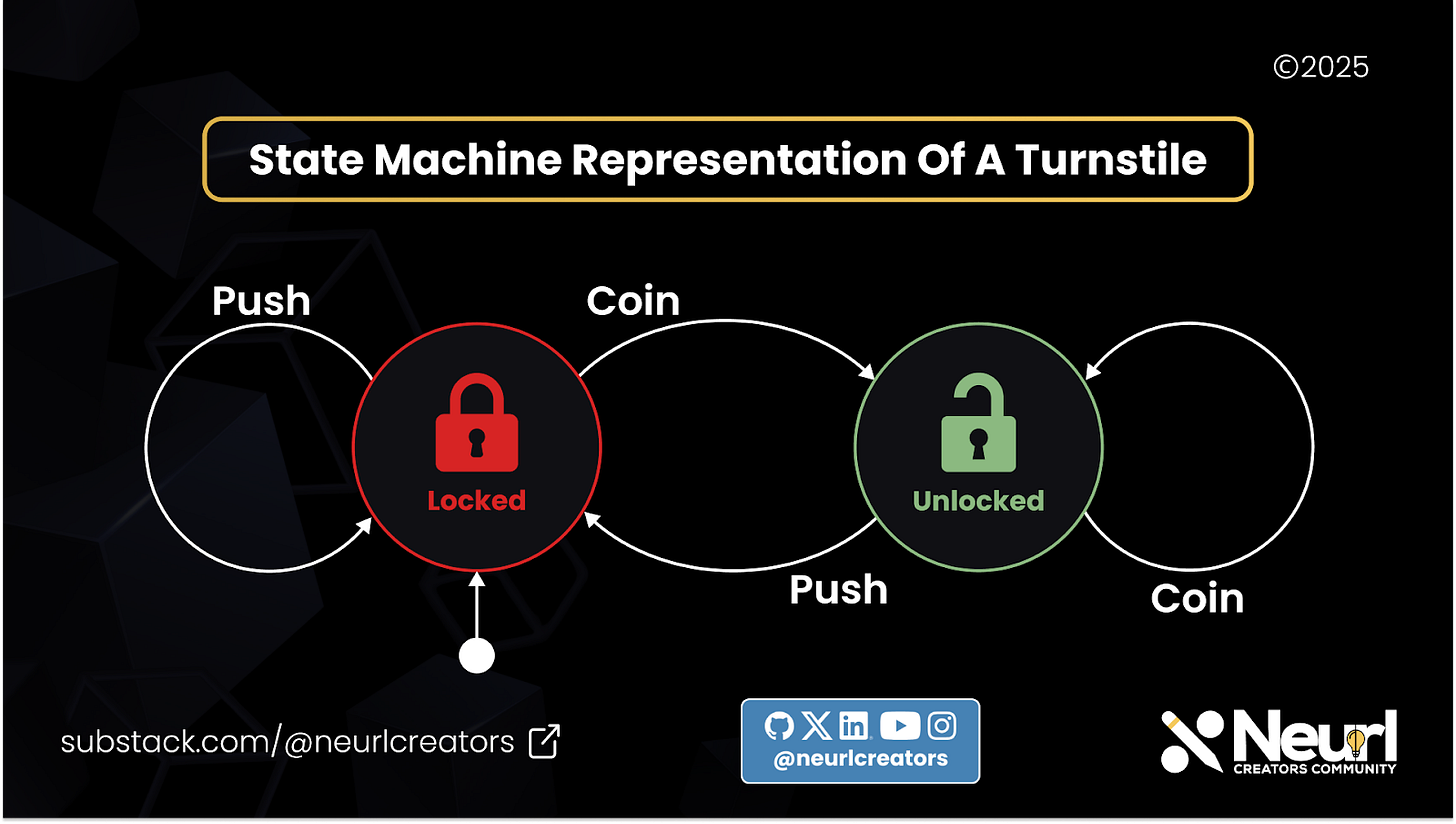
You can also visualize state machines as graphs, where:
States are represented as nodes
Transitions between states are represented as edges
This simple model of computation is what LangGraph builds upon to model AI agent interactions as state machines.
Agentic State Machines
Now that we understand traditional state machines, let’s explore the idea of agentic state machines.
In the previous section, we saw that state transitions in a finite state machine are driven by predefined conditions. For example, when a user inserts a coin and pushes a turnstile, the machine transitions from a Locked to an Unlocked state based on those fixed inputs.
But in an agentic state machine, transitions aren't hardcoded. Instead, an agent decides which transition to take based on the current state and context. This introduces flexibility and autonomy into the state machine model, which is essential for building intelligent systems.
An agentic state machine reimagines the traditional model using the following mapping:
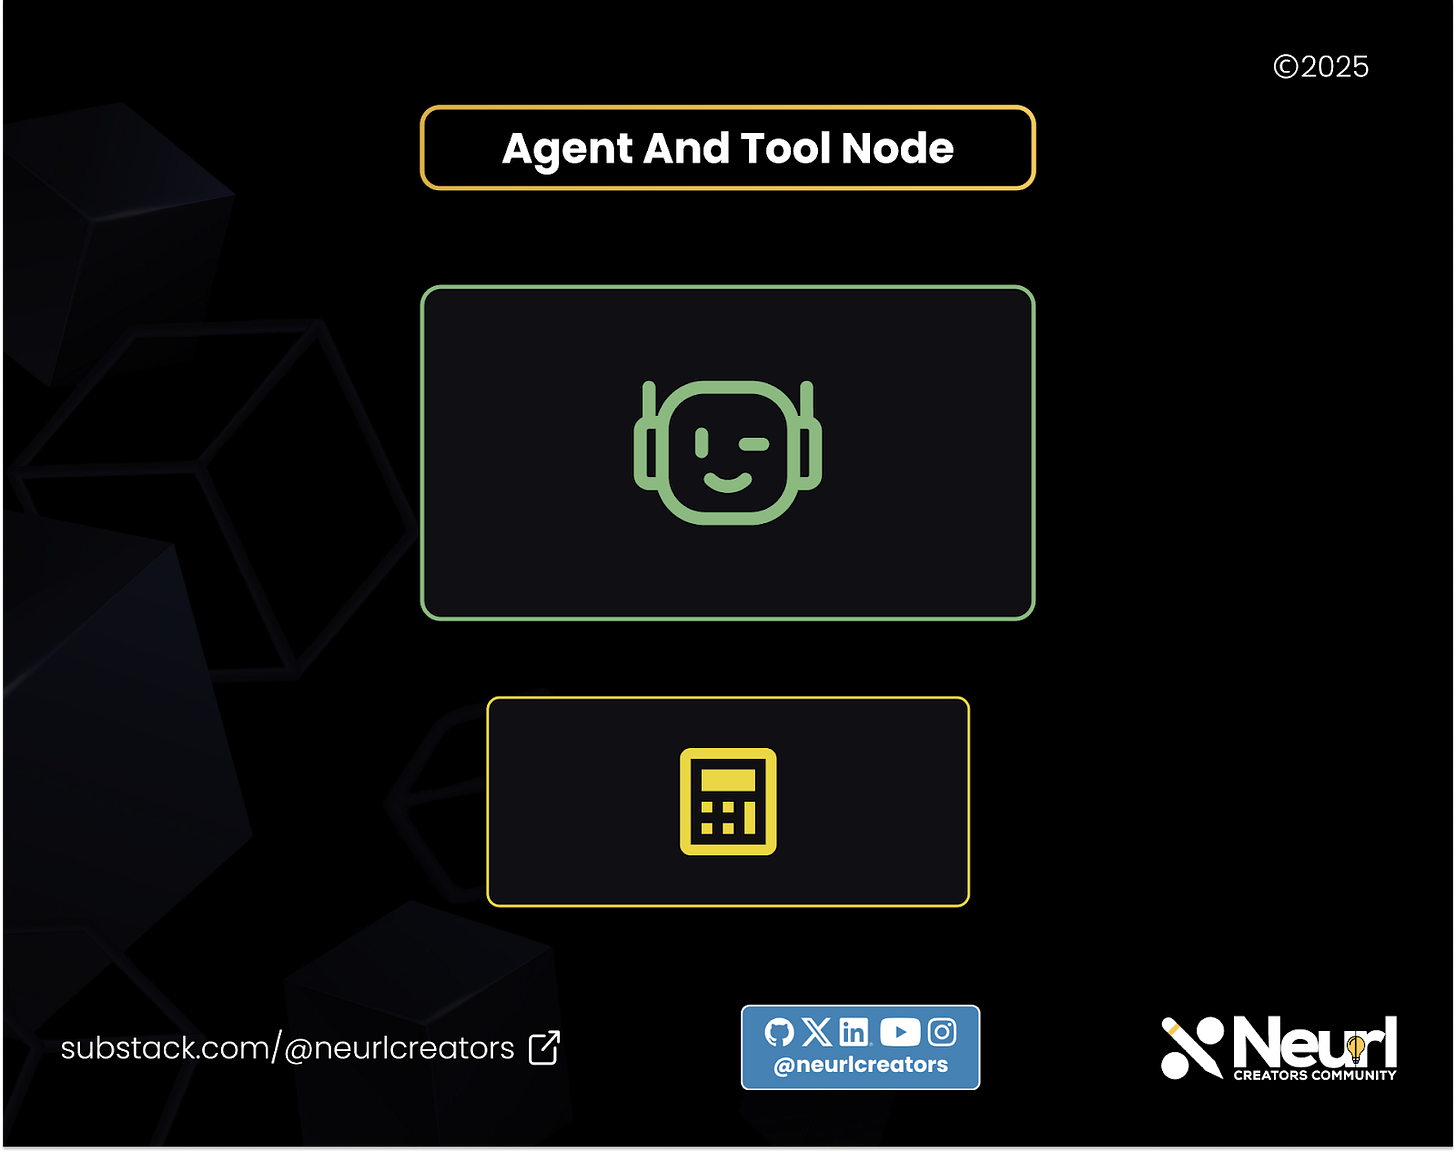
Agents and tools as nodes
Agent decisions as transitions
Conversations as states
Agents and Tools as Nodes
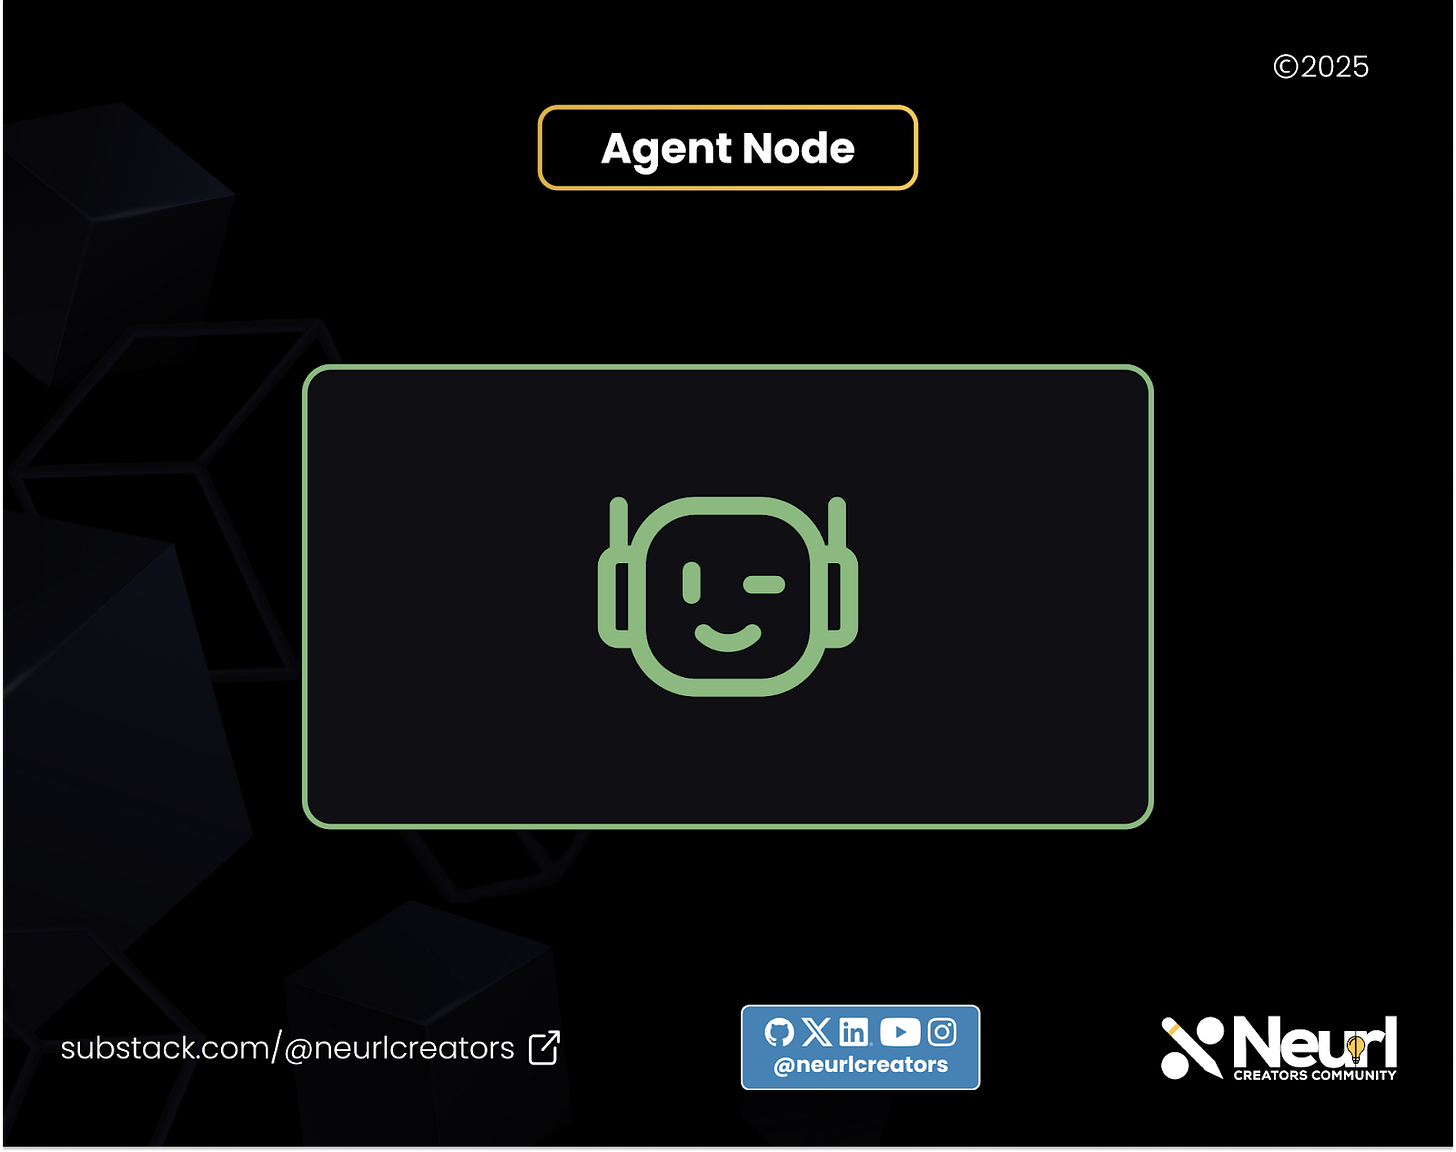
In an agentic state machine, each node in the graph represents either an AI agent or a tool. These components are independent:
Agents are typically language models capable of reasoning and decision-making.
Tools are external functions or systems (like a calculator or search engine) that can be invoked when needed.
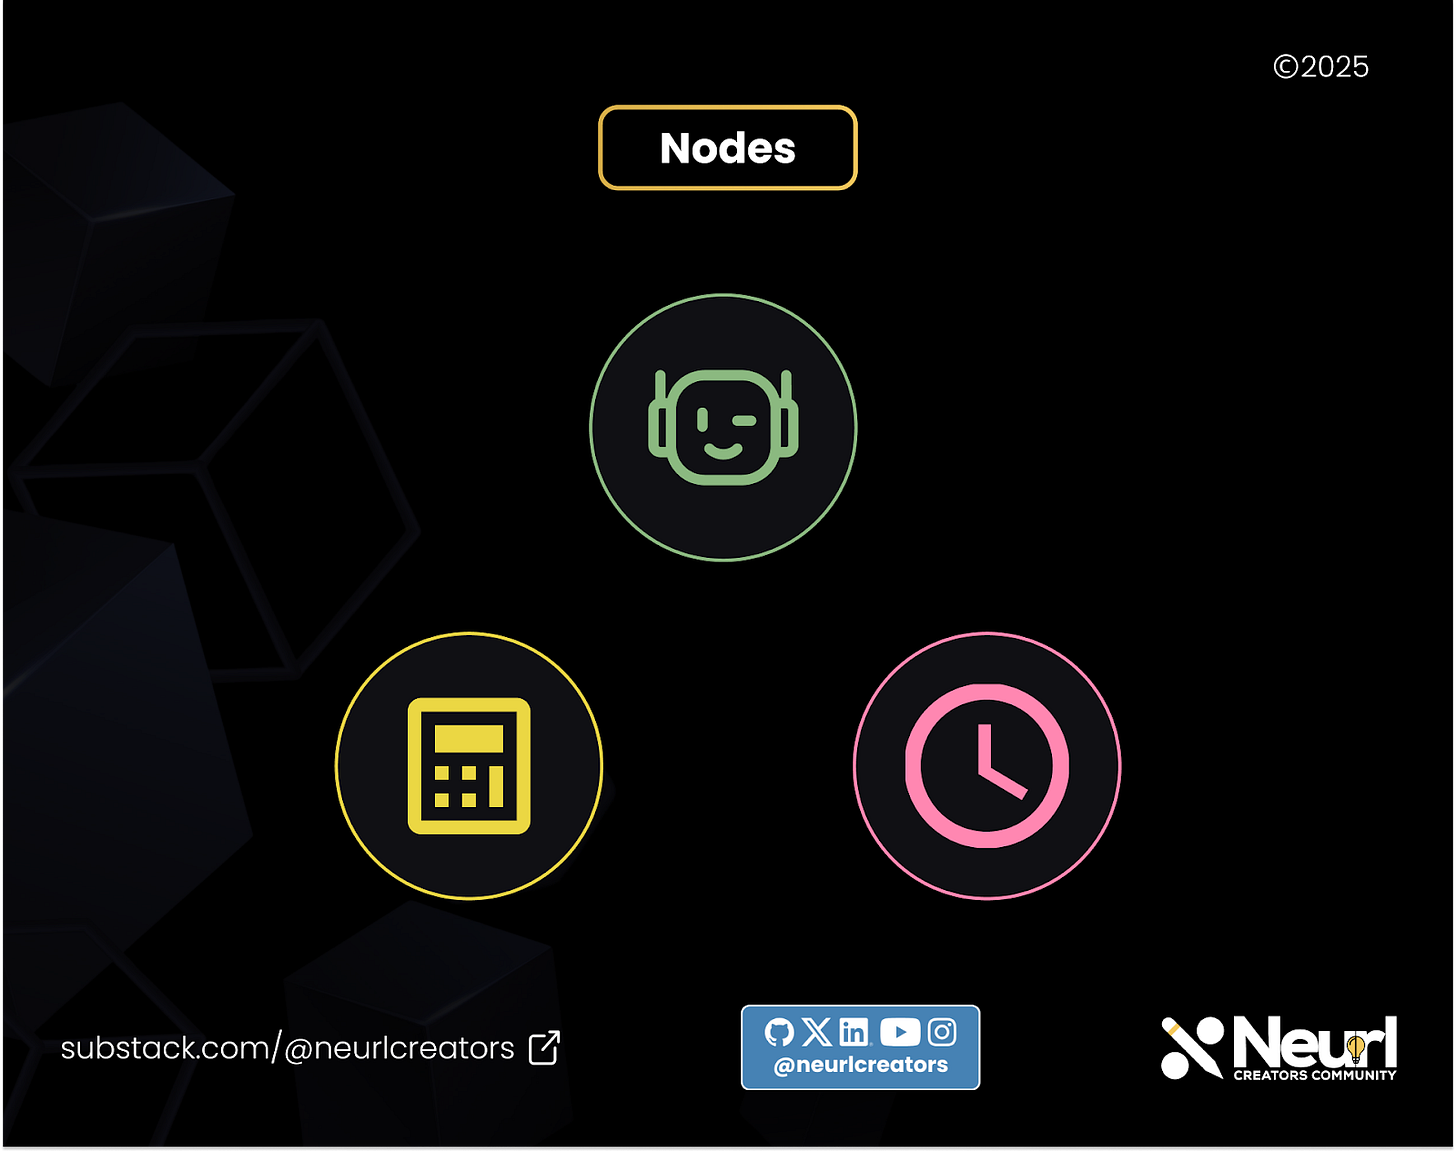
This modularity means each component can operate on its own, but the real power emerges when they are connected meaningfully through transitions.
Agent Decision as Transitions
To move between nodes, we use edges, which represent possible transitions. In an agentic state machine, these transitions are driven by the agent's decisions, not by hardcoded logic.
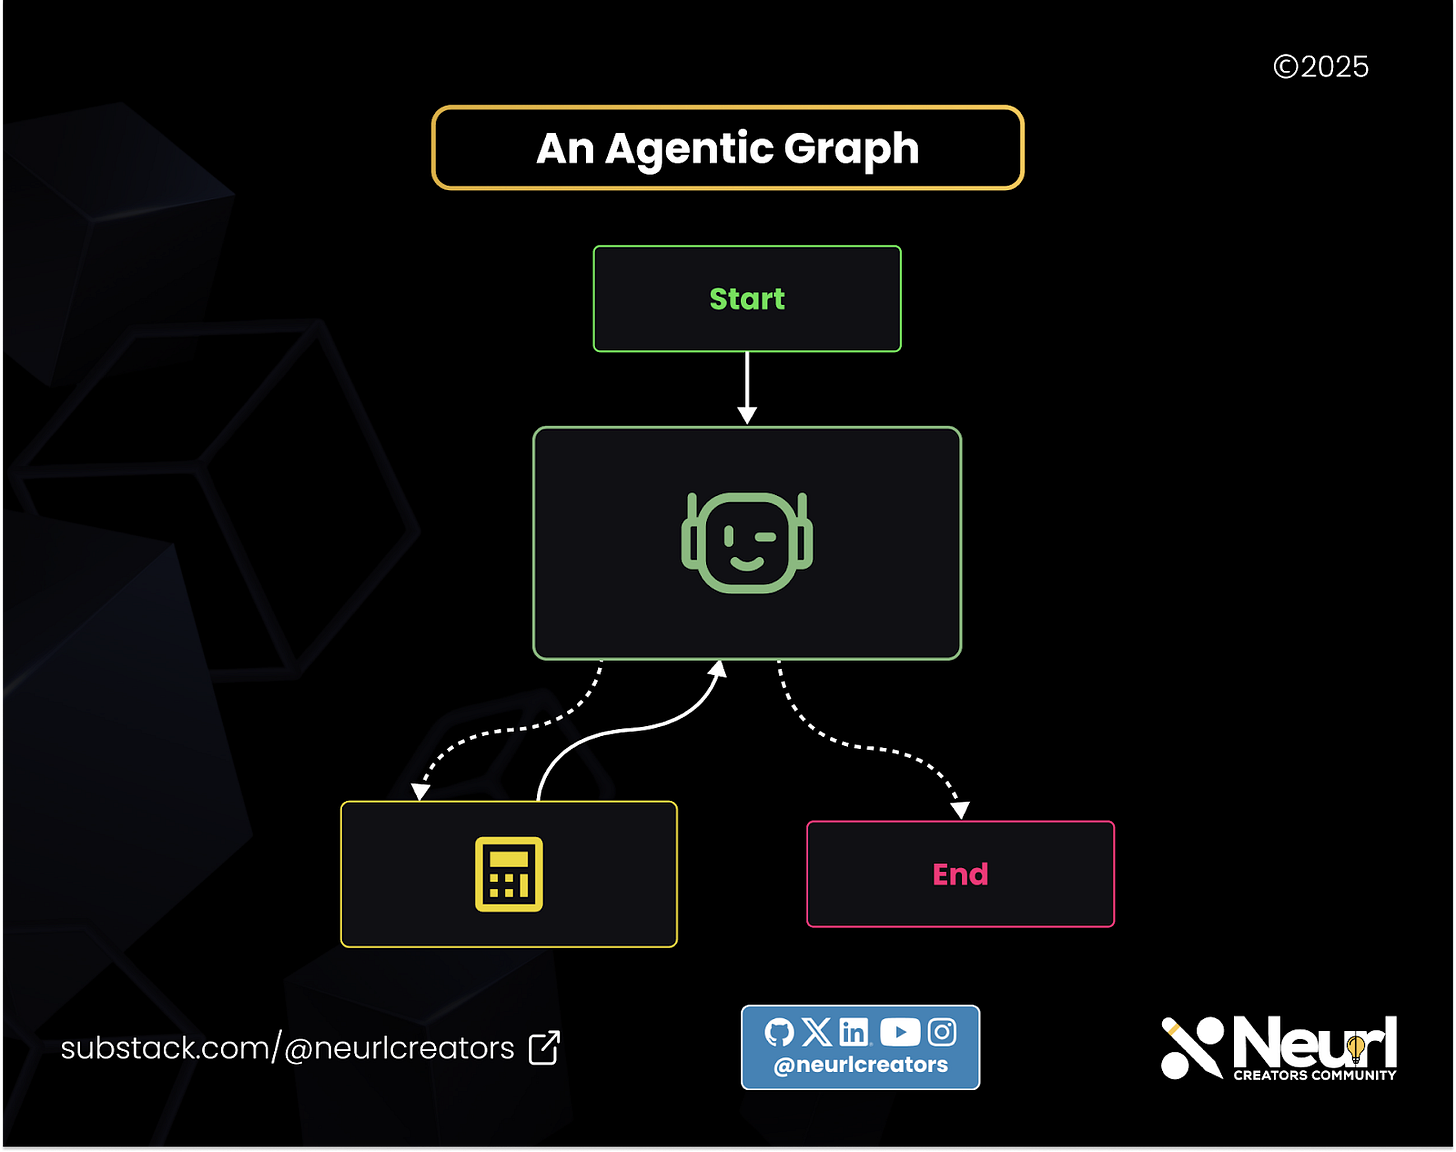
There are two kinds of edges:
Conditional edges (represented with dotted lines): The agent chooses whether or not to follow these paths based on its understanding of the current state.
Definite edges (represented with solid lines): These are fixed transitions that are always followed when reached.
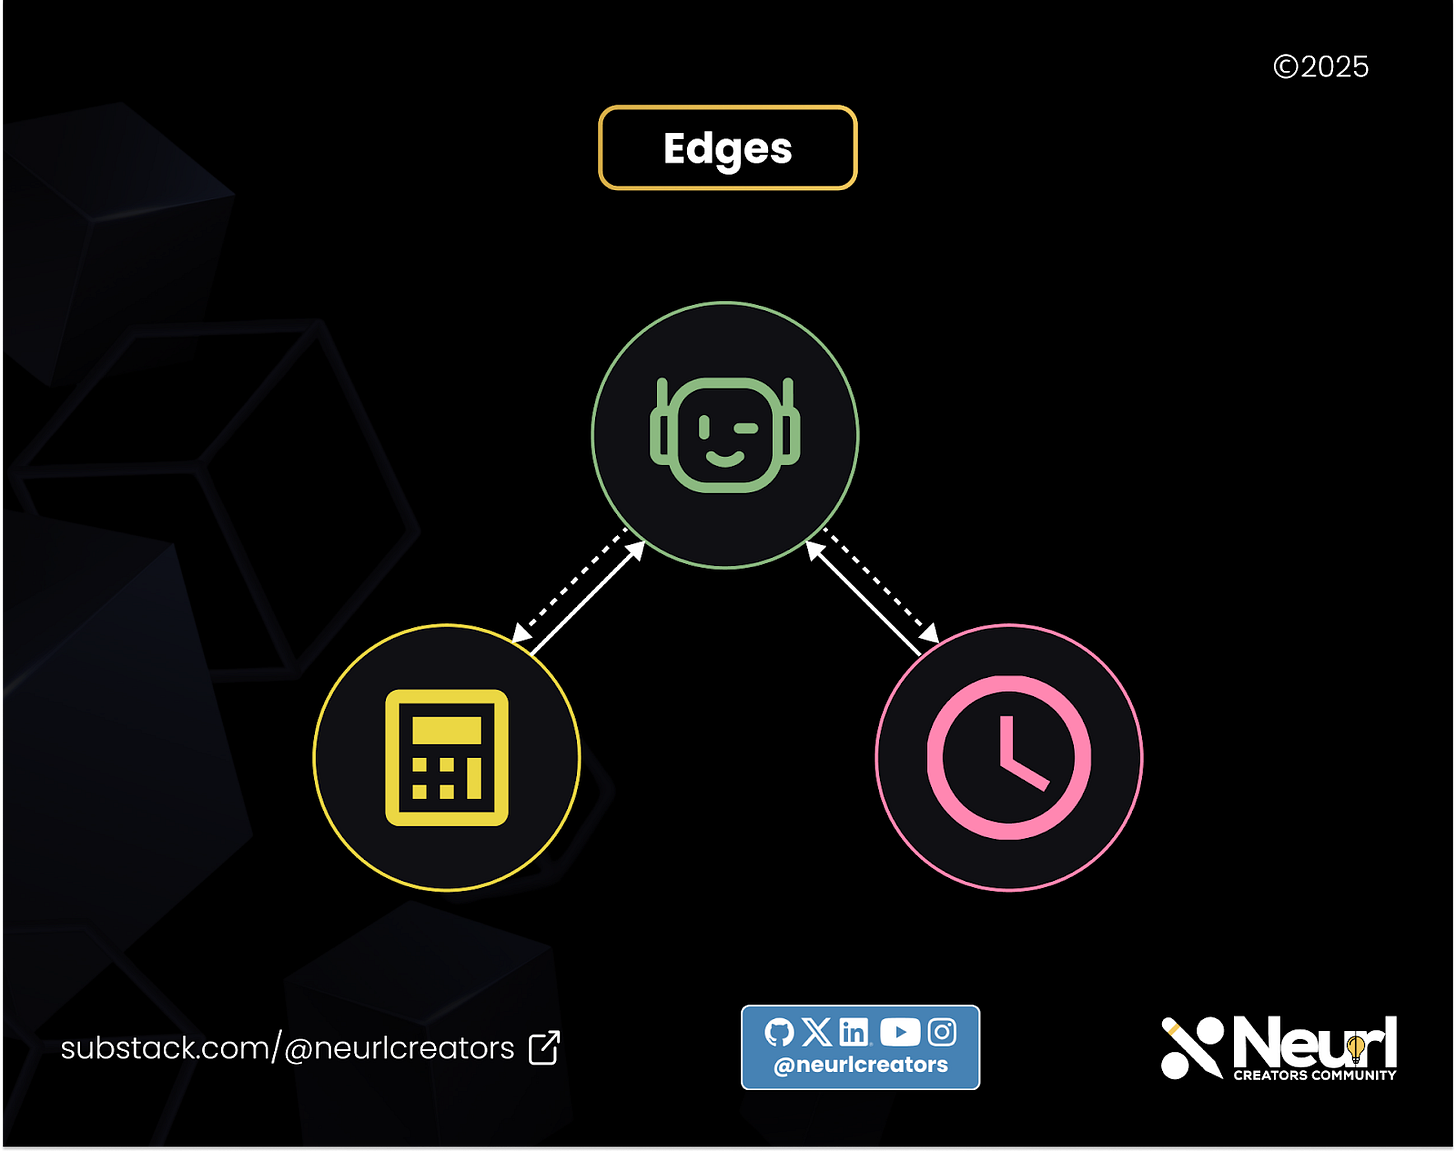
In the illustration above, you’ll notice that the agent is connected to multiple tools via conditional edges, allowing it to decide which tool to use based on the conversation. Once a tool is used, it typically returns to the agent via a definite edge.
Conversation as States
So far, we’ve defined our nodes (agents and tools) and transitions (edges). But what determines when an agent should make a decision? That’s where the state comes in.
In agentic state machines, the state of the system is driven by the conversation between the agent and the user. As the dialogue progresses, each message updates the state. This context is what the agent uses to decide its next move.
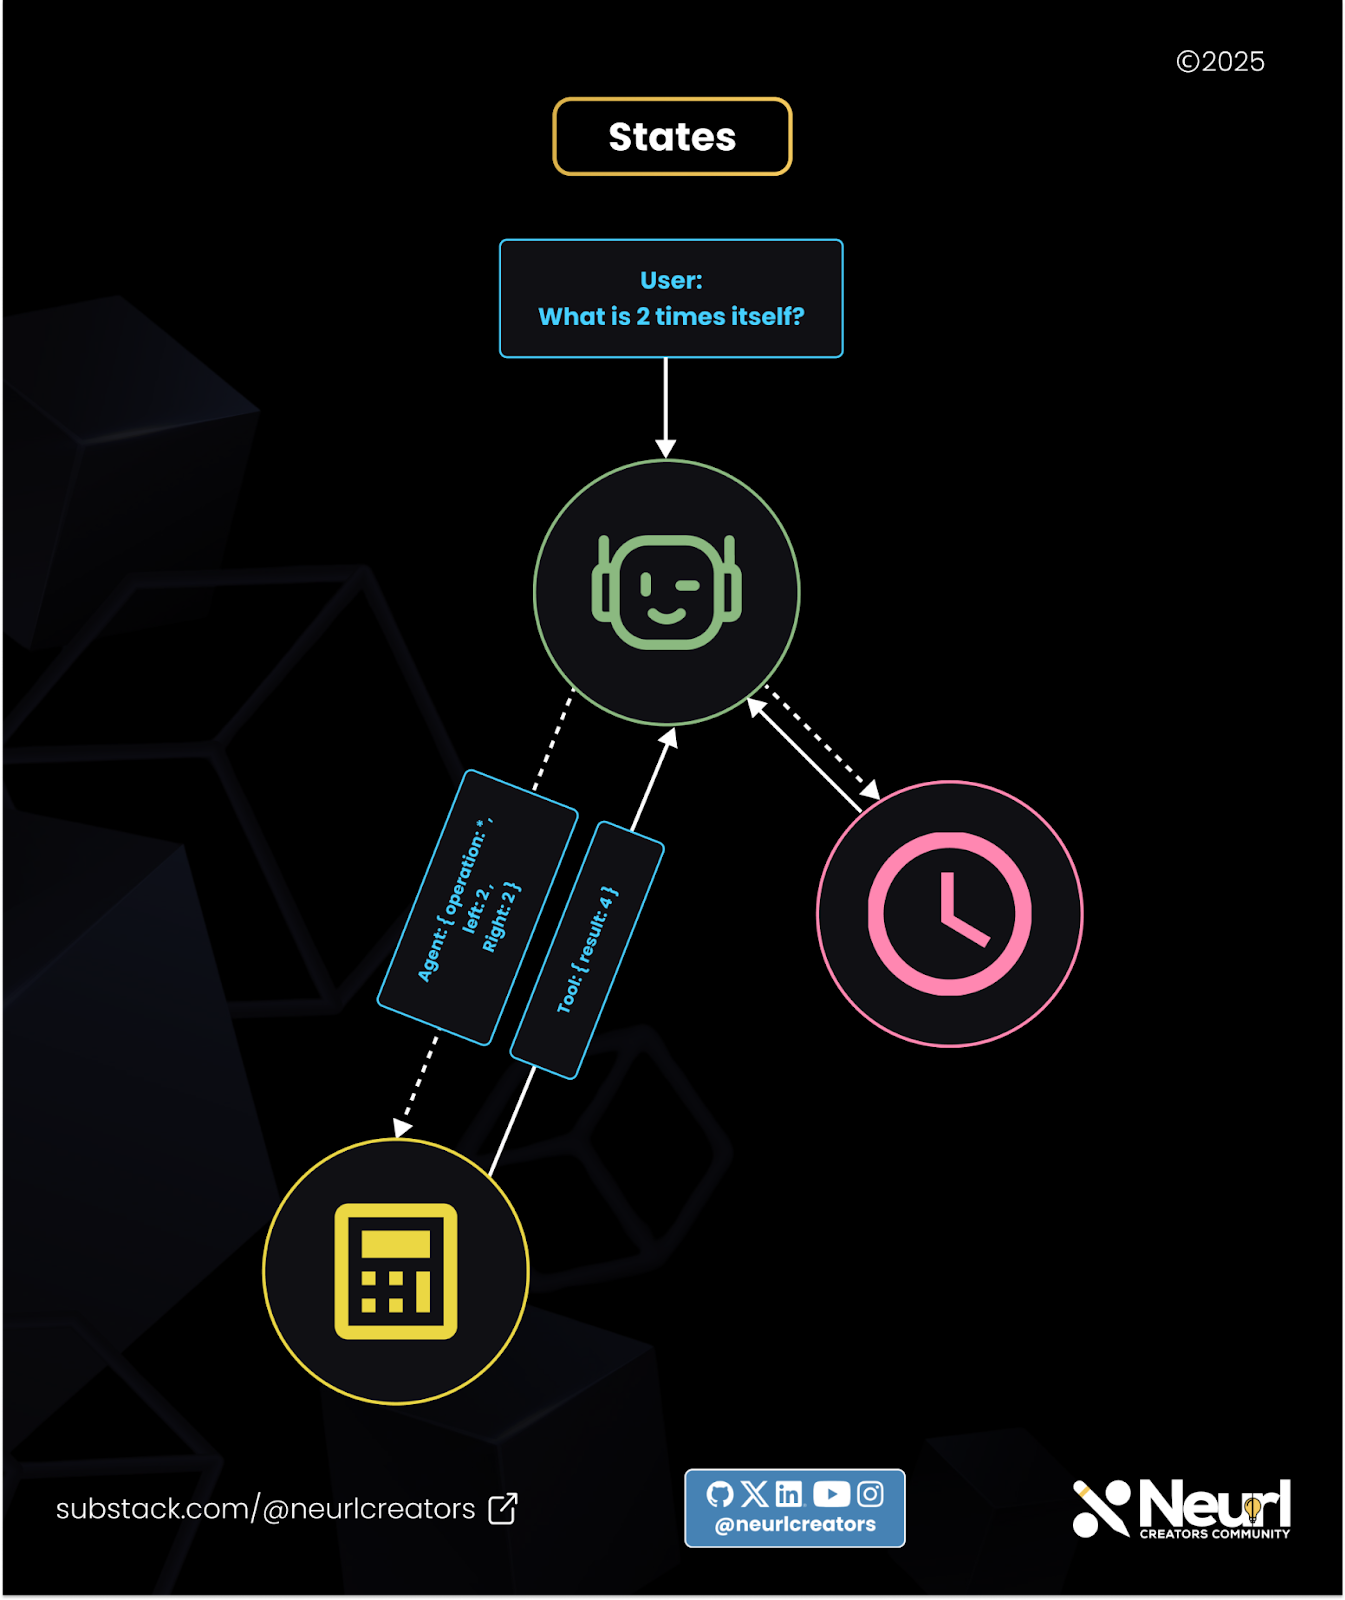
For example, in the image above, the state is updated with the user message: "What is 2 times itself?"
The agent interprets this diagram and decides to use the calculator tool. The tool returns a result, which the agent can then act upon, perhaps replying to the user or performing another computation.
At every step, the conversation evolves, and with it, the state of the system. The agent uses this evolving state to determine transitions and actions.
Now that we understand the theory behind agentic state machines, let’s move on to building one using LangGraph.
👀 Recommended:
Is LangChain Still Worth Using in 2025?
In late 2022, something unexpected took the AI development world by storm, and no, it wasn’t ChatGPT. It was LangChain. On October 24, 2022, Harrison Chase made the first commit to the LangChain repository, introducing a framework like nothing the software industry had seen before.
Build an Agentic State Machine with LangGraph
To build our agentic state machine in LangGraph, let’s start by installing the required libraries. We would need the following: LangGraph and LangChain alongside OpenAI dependencies.
This would enable us to use OpenAI as our model provider, but you can use any model provider of your choice.
pip install langgraph langchain[openai]You can now add your OpenAI API key to the environment variable OPENAI_API_KEY.
Defining the States
With the setup complete, we can now start building our agentic state machine by defining its states.
from typing import Annotated, TypedDict
from langgraph.graph.message import add_messages

class State(TypedDict):
    messages: Annotated[list, add_messages]
Here, we define our states as a dictionary that stores the messages exchanged between the user and the agent. Each node will add messages to this state as it transitions from one node to another.
Initialize the Graph, Model, and Tool
Now that we’ve defined our states, the next step is to set up the Graph, Agent, and Tool. The Graph represents our state machine. It brings together the agents, tools, and transitions that define the agentic workflow.
We build the graph using the StateGraph class, which takes the state we defined earlier as input.
from langgraph.graph import StateGraph

# Build the graph
graph_builder = StateGraph(State)
Next, we need to define the language model that will serve as the reasoning engine for our agent.
from langchain.chat_models import init_chat_model

# Initialize the chat model

llm = init_chat_model("openai:gpt-4.1")
After setting up the model, the next step is to define a tool. We’ll create a simple calculator tool that the agent can use.
# Define a simple calculator tool
def calculator(operation: str, a: float, b: float) -> float:
    """A simple calculator function that performs basic arithmetic operations.
    Args:
        operation (str): The operation to perform. Can be "add", "subtract", "multiply", or "divide".
        a (float): The first number.
        b (float): The second number.
    Returns:
        float: The result of the operation.
    Raises:
        ValueError: If the operation is unknown.
    """

    if operation == "add":
        return a + b
    elif operation == "subtract":
        return a - b
    elif operation == "multiply":
        return a * b
    elif operation == "divide":
        return a / b
    else:
        raise ValueError("Unknown operation")
With our tool defined, we can now bind it to the language model. This enables the model to understand how to interact with the tool during execution.
# Bind the calculator tool to the LLM

tools = [calculator]

llm_with_tools = llm.bind_tools(tools)
Adding the Nodes
With the tools and language model defined, we can now add them as nodes in the graph. We'll start by adding the language model, since it'll be using tools that essentially make it an agent.
# Define the agent function that uses the LLM with tools
def agent(state: State):
    return {"messages": [llm_with_tools.invoke(state["messages"])]}

# Add the agent node to the graph
graph_builder.add_node("agent", agent)
We can visualize the graph and see that it currently contains only one node.
So let’s add the tool as a node as well.
from langgraph.prebuilt import ToolNode

# Add the tool node to the graph

tool_node = ToolNode(tools=tools)

graph_builder.add_node("tools", tool_node)
We used the ToolNode class to simplify the process of creating a node for the tool.
We now have two nodes in our graph, but they’re not yet connected. Let's link them using edges.
Adding Edges
To connect the agent to the tool node in LangGraph, we use a conditional edge because we want the agent to decide whether to transition the state to the tool or simply end.
Here is how it works: we define a conditional function that checks whether the agent calls a tool, in this case the calculator. If it does, the state transitions to the calculator node where the tool is executed.
If the agent doesn’t call a tool, the state transitions to the end of the graph, returning the agent’s response.
from langgraph.graph import END, MessagesState

def condition(state: MessagesState):
    messages = state["messages"]
    last_message = messages[-1]
    if last_message.tool_calls:
        return "tools"
    return END
With the conditional function defined, we can now create the edge.
# Add a conditional edge to the agent node that checks if tools are needed
graph_builder.add_conditional_edges(
    "agent",
    condition,
)
Here's a visual representation of the graph so far.
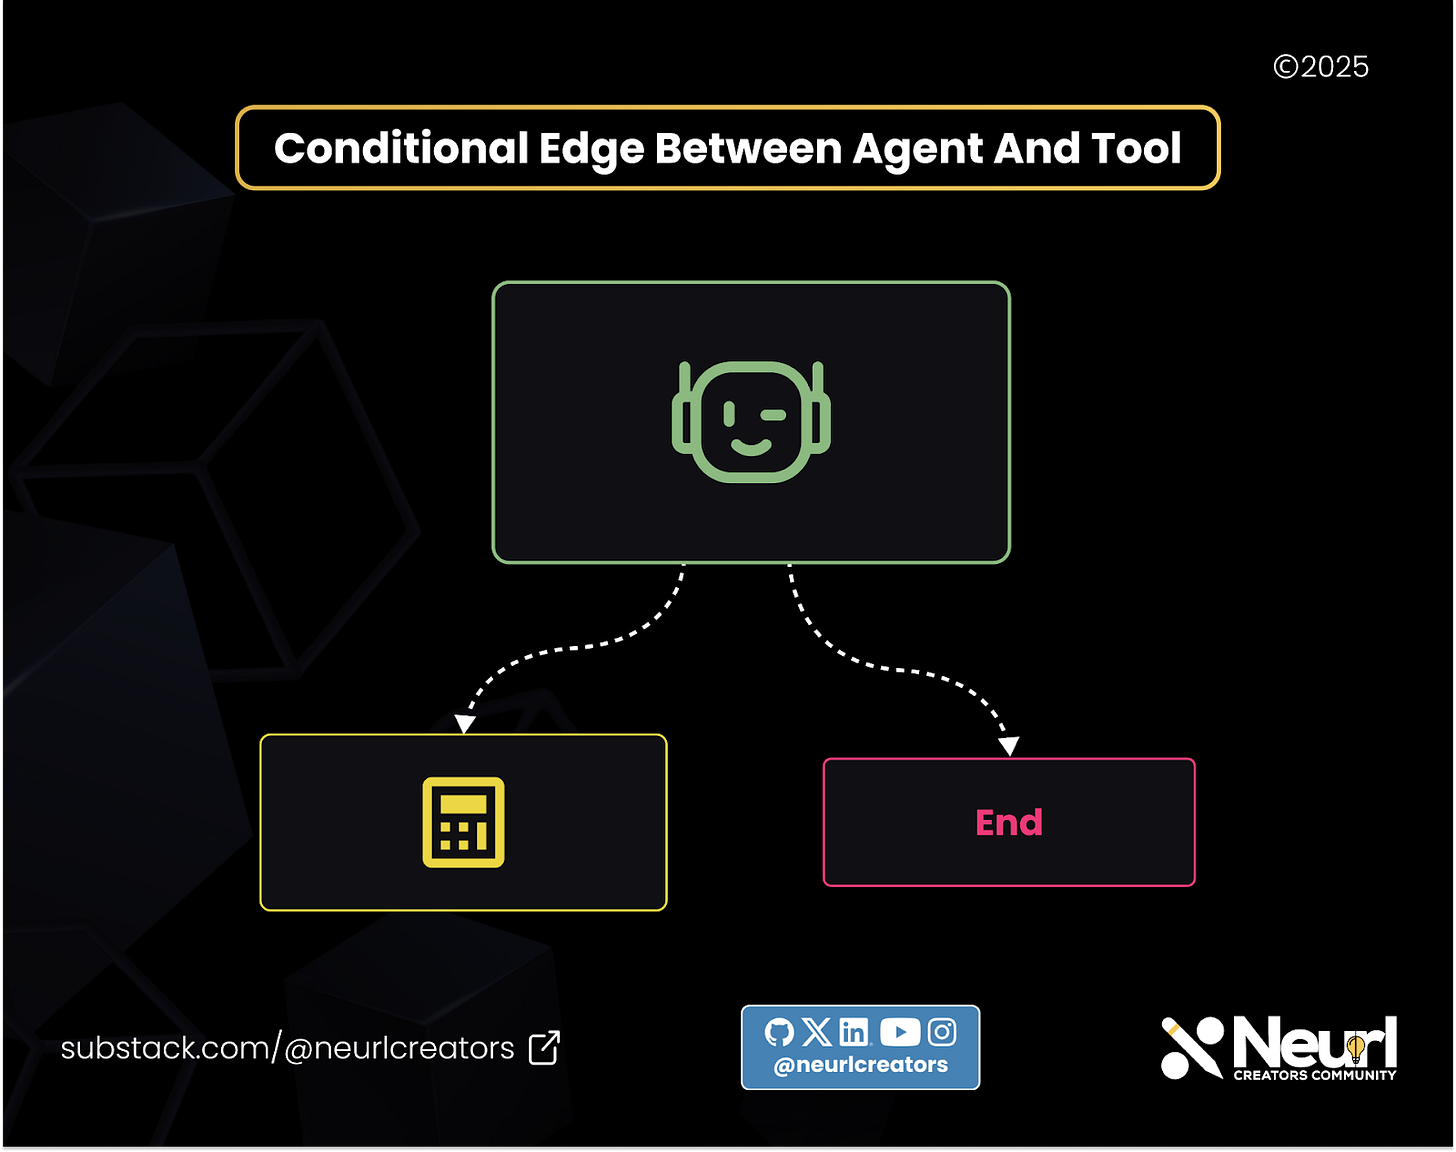
A conditional edge exists between the agent and the tool, but if we transition to the tool node, how do we return to the agent node? This is where we introduce a new edge. Unlike the first, this one isn’t conditional; it’s a definite transition.
# Add an edge from the tools node to the agent node

graph_builder.add_edge("tools", "agent")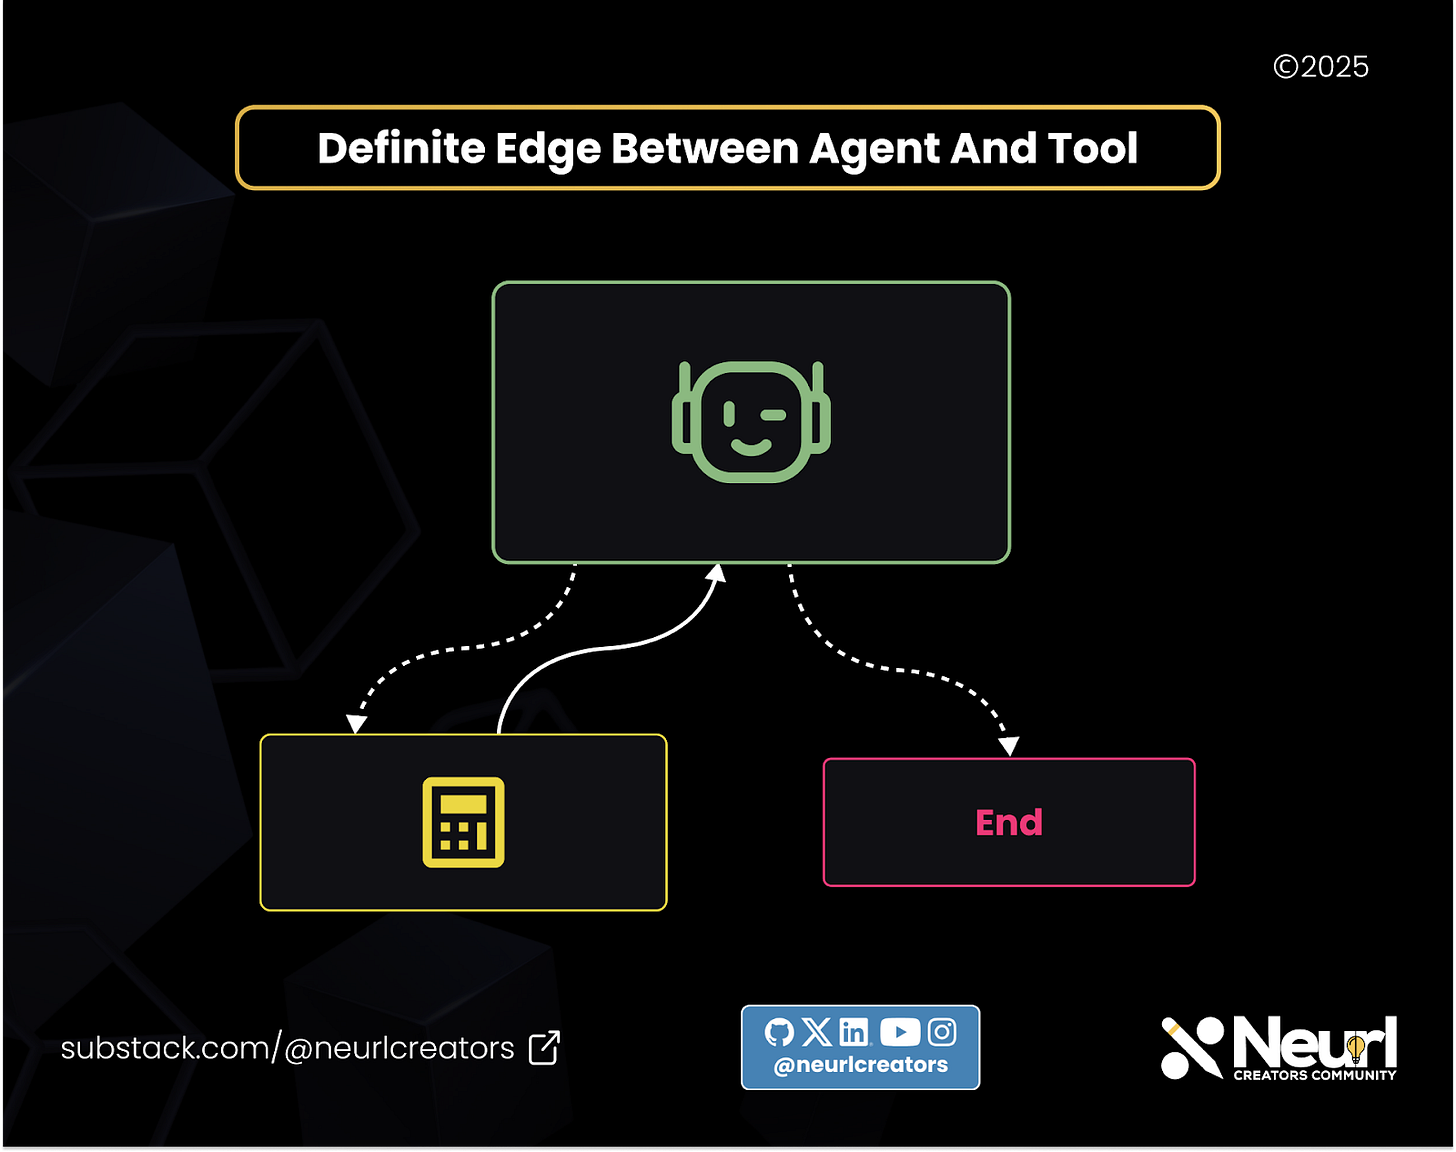
The graph is nearly complete; we simply need to incorporate one final element. Currently, the graph doesn’t have a starting node. We will add a start node and connect it to the agent node.
from langgraph.graph import START

# Add the starting edge to the agent node

graph_builder.add_edge(START, "agent")
This means the agent is the first node to receive the state before any other part of the graph.
With that, our graph is complete. The final step is to compile it.
# Compile the graph

graph = graph_builder.compile()
Interacting with the Agentic State Machine
With the graph compiled, we can now test the agentic state machine by using the graph’s invoke method.
# Invoke the graph with a user message

result = graph.invoke({"messages": [{"role": "user", "content": "What is a million times four hundred and 8?"}]})

print("Assistant: ", result["messages"][-1].content)
In the code above, we provided the agentic state machine with the initial input:
“What is a million times four hundred and eight?”
The state machine should return a response along the lines of:
“A million times four hundred and eight is 408,000,000.”
Now, let’s analyze the state transitions that occurred within the agentic state machine.
Here’s how the state transitioned:
The user asked: "What is a million times four hundred and eight?" This became the initial state at the start node, which then transitioned to the agent node.
The agent analyzed the input and determined it needed to use the calculator tool, so it initiated a tool call.
The conditional function we defined detected the tool call, causing the state to transition to the tool node where the calculator was executed.
The result of the calculation was passed back to the agent.
The agent updated the state with its final response and transitioned to the end node.
We’ve now seen how to bring an agentic state machine to life using LangGraph. While this low-level approach gives you full control over the system, it can be quite involved and requires more effort to build and maintain.
To make things easier, LangGraph also provides a set of high-level APIs that simplify the process of building agentic systems.
LangGraph High-Level APIs
LangGraph provides several high-level APIs that simplify the process of building AI agents. These abstractions allow you to focus more on behavior and logic, rather than the low-level details of graph construction. Some of the most notable include:
LangGraph-Prebuilt
LangGraph Prebuilt offers ready-to-use components for building agentic systems. Instead of manually working with graph concepts like nodes and edges, you use higher-level abstractions that encapsulate common agent patterns.
For example, here’s how the graph we previously built from scratch can be created using the Prebuilt API:
from langgraph.prebuilt import create_react_agent

def calculator(operation: str, a: float, b: float) -> float:
    """A simple calculator function that performs basic arithmetic operations.
    Args:
        operation (str): The operation to perform. Can be "add", "subtract", "multiply", or "divide".
        a (float): The first number.
        b (float): The second number.
    Returns:
        float: The result of the operation.
    Raises:
        ValueError: If the operation is unknown.
    """

    if operation == "add":
        return a + b
    elif operation == "subtract":
        return a - b
    elif operation == "multiply":
        return a * b
    elif operation == "divide":
        return a / b
    else:
        raise ValueError("Unknown operation")

agent = create_react_agent(
    model="openai:gpt-4.1",
    tools=[calculator],
    prompt="You are a helpful assistant"
)

# Run the agent
agent.invoke(
    {"messages": [{"role": "user", "content": "What is a million times four hundred and 8?"}]}
)
This code uses the create_react_agent function to create the agent. LangGraph Prebuilt also provides additional components, including tools for managing agent memory and state more effectively.
LangGraph Supervisor
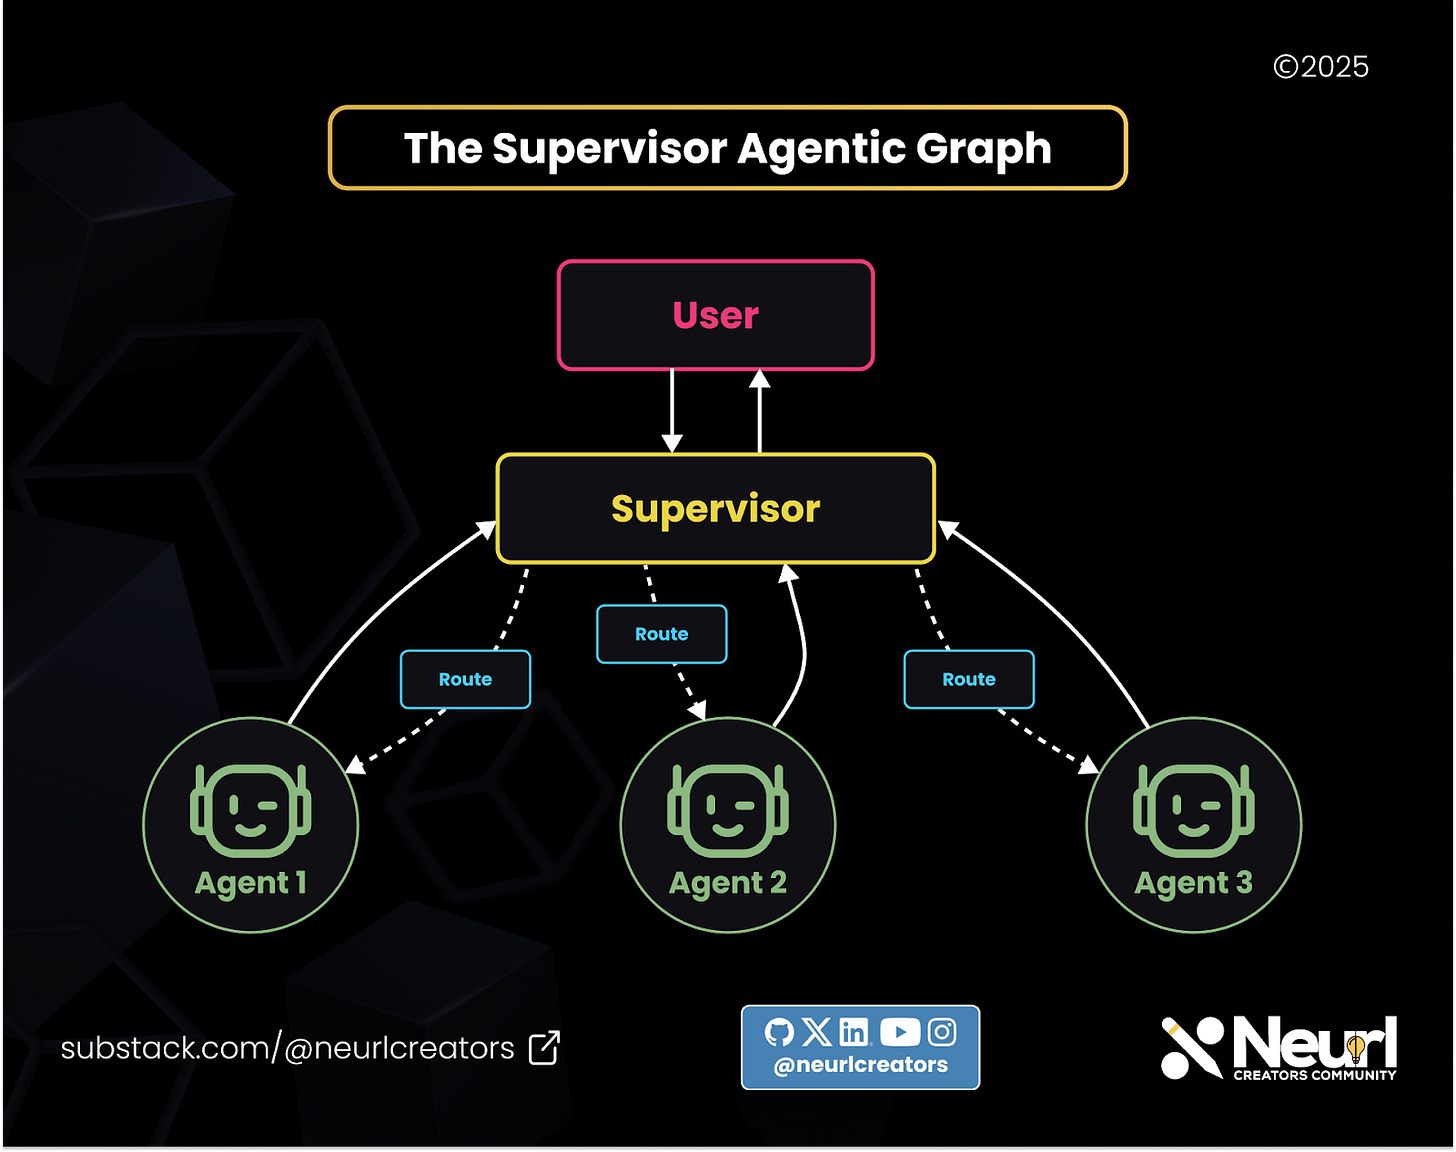
If you're building a supervisor-style agentic system, where one agent oversees and coordinates the actions of other agents, then LangGraph Supervisor is the ideal API to use. Instead of building the entire system from scratch, you can use this high-level abstraction to simplify the process.
To use it, you need to install the langgraph-supervisor library. It can be used alongside the langgraph-prebuilt library.
LangGraph Swarm
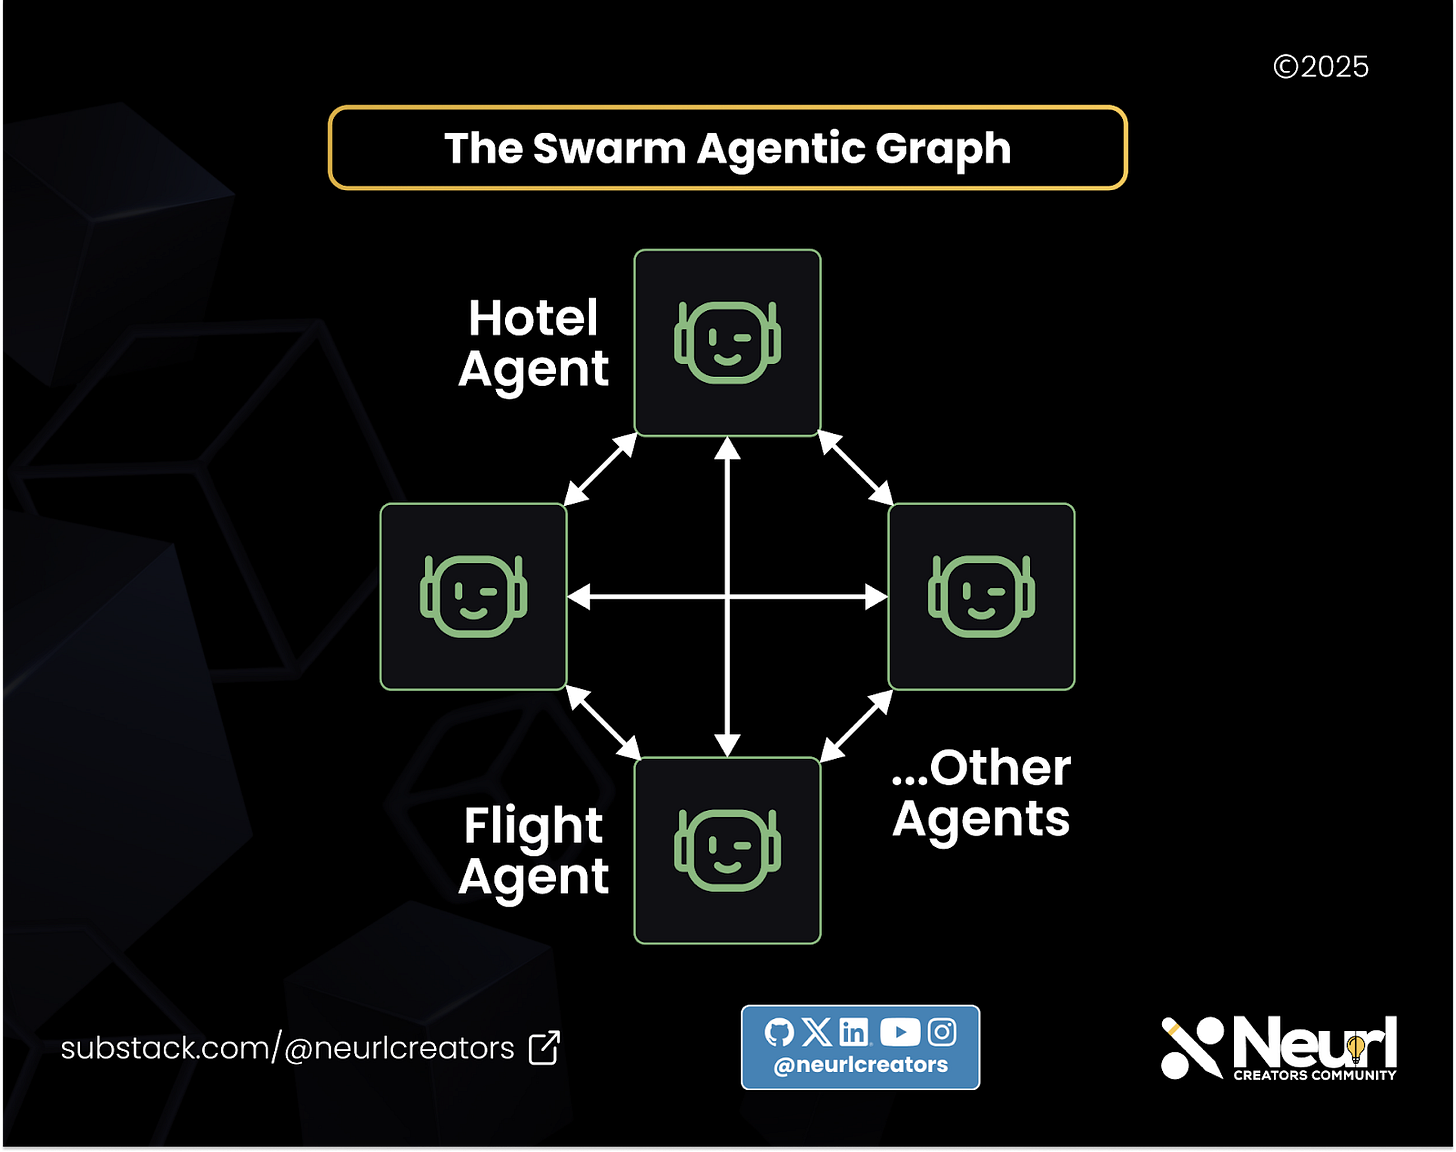
LangGraph Swarm is a high-level library designed for building collaborative agent systems, where multiple agents work together and can hand off tasks to one another without a central supervisor.
LangGraph MCP Adapters
When building agentic graph systems that need to interact with external tools via the Model Context Protocol (MCP), the langchain-mcp-adapters library simplifies the entire process.
It essentially acts as an MCP client for your agentic graph system, enabling it to communicate with both local and remote MCP servers.
Who is Using LangGraph in Prod?
Every developer asks one question when they encounter a new tool: Is it used in production? Some of the largest companies in the tech industry indeed use LangGraph in production to build AI agents. Let’s explore a few examples.
Uber
Uber’s Developer Platform team built AI agents using LangGraph to enhance the developer experience.
These agents can generate unit tests and ensure adherence to Uber’s internal coding standards, streamlining development and improving code quality.
LinkedIn
To improve recruiter efficiency, LinkedIn has developed an advanced AI Hiring Agent powered by LangGraph.
The team designed the agent to streamline the hiring process through automated functions, including performing conversational searches to understand recruiter needs and accurately matching candidates to open roles.
Elastic
Elastic uses LangGraph to orchestrate its AI agents for threat detection scenarios, significantly reducing labor-intensive SecOps tasks.
The integration improves Elastic's Generative AI features, such as the Elastic AI Assistant and Automatic Import, enabling them to understand complex security scenarios, generate queries, and craft accurate data integrations for streamlined security analytics.
Conclusion: LangChain—The Agentic State Machine
LangGraph is quickly becoming the go-to framework for building effective AI agents. It really shines because it takes proven computer science ideas like state machines and graphs, and uses them to create modern AI agents that are much tougher and better at tackling real-world problems.
Although LangChain has received significant criticism, LangGraph's design has earned widespread praise.
The big difference? Instead of agents relying on prompts to make decisions (which was a common criticism of LangChain), LangGraph uses clear, controllable, and easy-to-monitor graphs. This makes the agents far more predictable and reliable.
Think of this article as just a quick intro; if you want to dive deep and truly understand LangGraph, definitely check out its official documentation.
We created 🛠️BuildAIers Toolkit to help you cut through the noise and build smarter with the right tools, stacks, and strategies. On bi-weekly Tuesdays, we deliver hands-on insights to help you evaluate, integrate, and scale AI tech that actually works.
📌 Key Goals for Every Post:
✅ Help AI builders make informed, confident tooling decisions
✅ Highlight workflows, tradeoffs, and real-world use cases
✅ Encourage a builder-led conversation around what tools are shaping the future of AI.
Used this tool in production? Tell us how it performed—and what you’d do differently. ⬇️


